
1973 Jensen Interceptor Series 3- Full car leather interior restoration
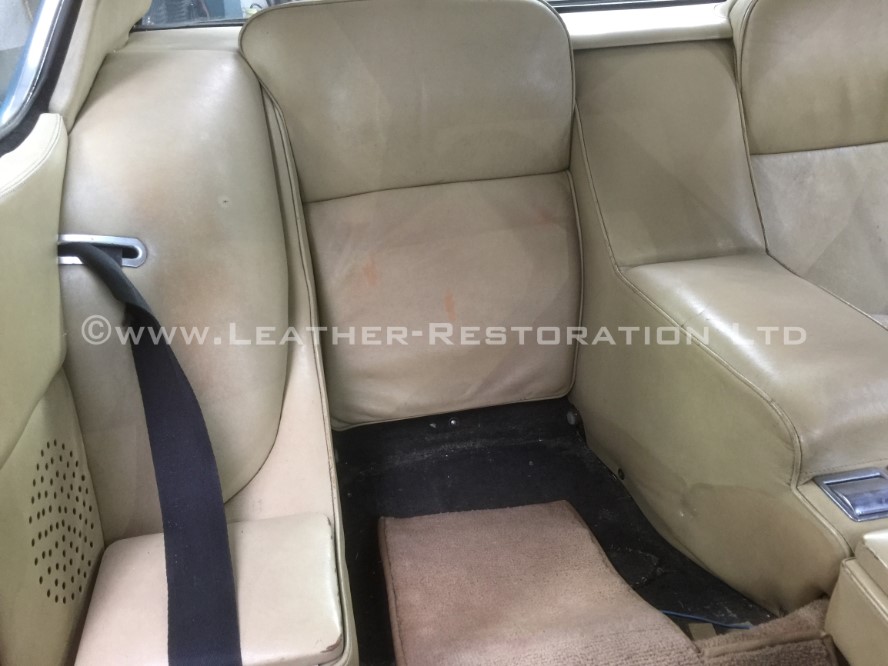
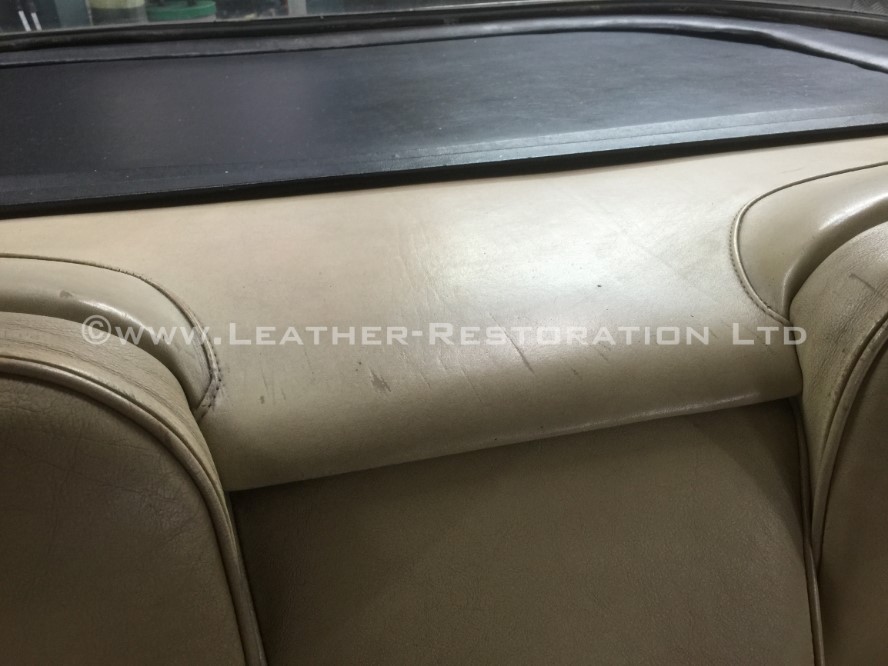
All of the existing leather sealant and colouring had worn off over the life of the car. I was able to find a piece of original leather under the rear cubby hole pocket. I used this to match the exact colour before restoration started.
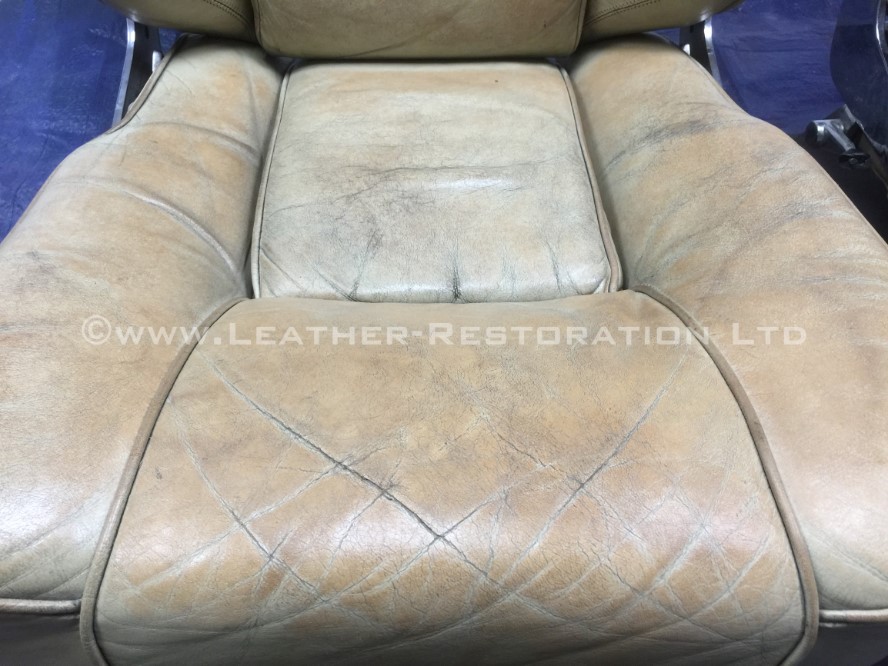
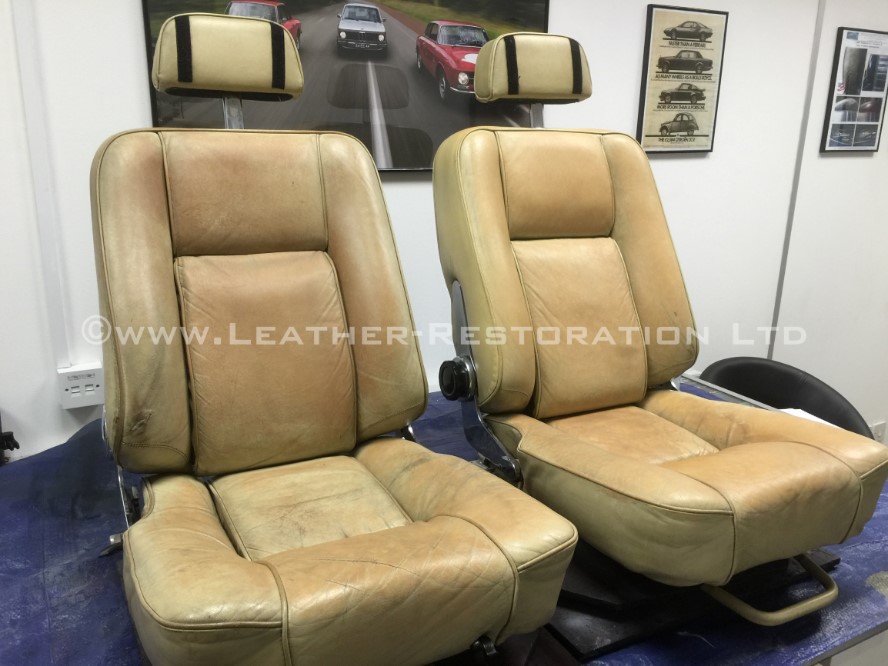
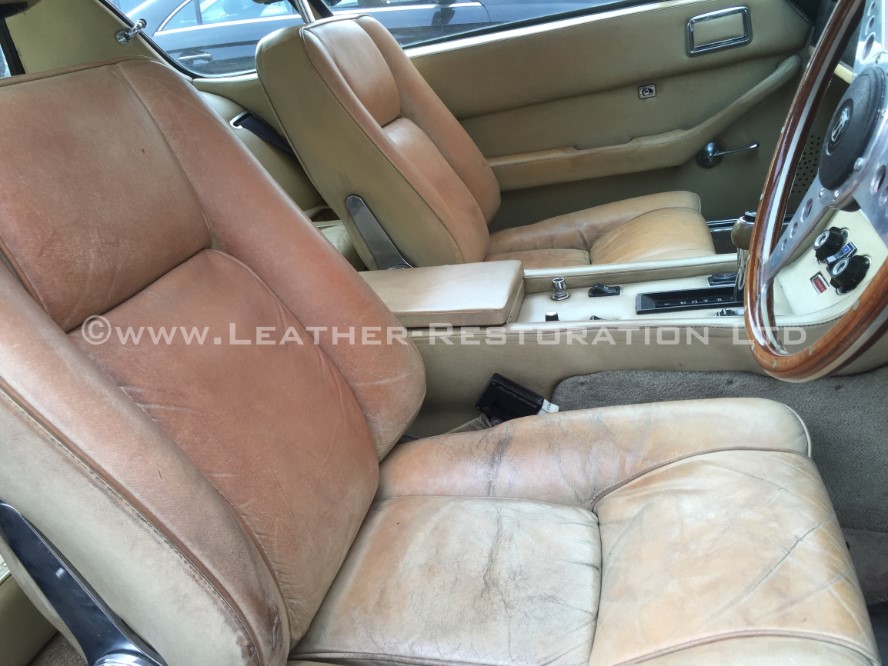
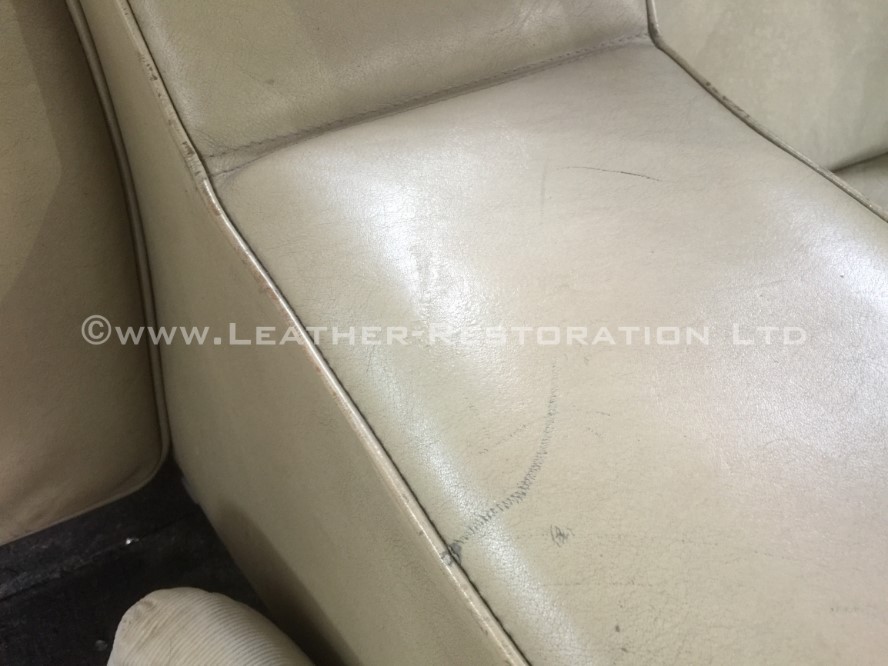
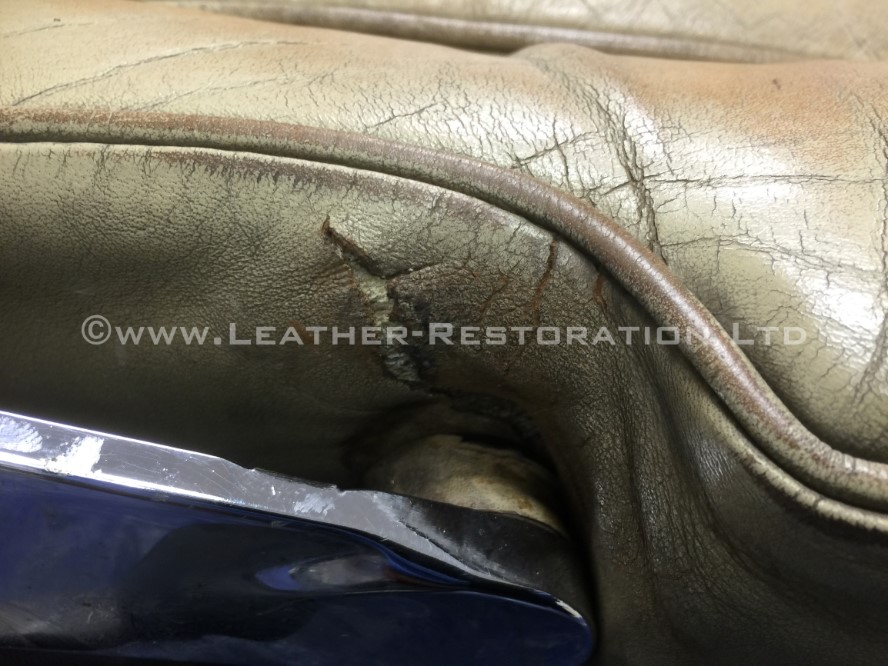
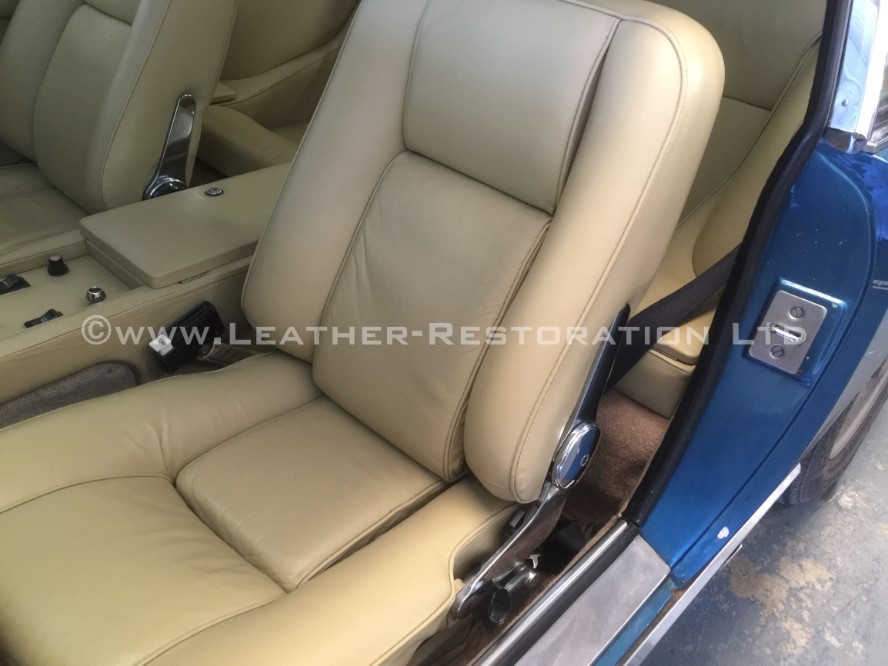
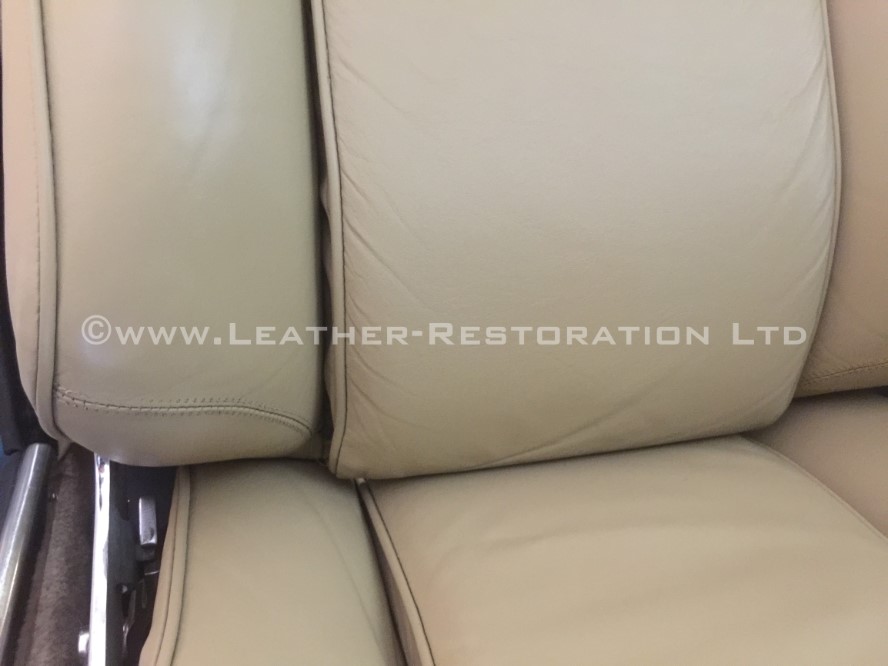
The seats were worn through in places and the whole interior had many rips, scuffs, tears and cigarette burns on the leather
I started by removing the front seats and removing all the remaining colourant, dirt and sealant from the leather. The leather was then strengthened with binding fluid and all the holes repaired. I inspected the leather and filled any cracking with specialist fillers and degreased the leather ready for recolouring.
Four fine layers of leather colourant were applied, and then 5 layers of leather sealant. These were allowed to dry between coats.
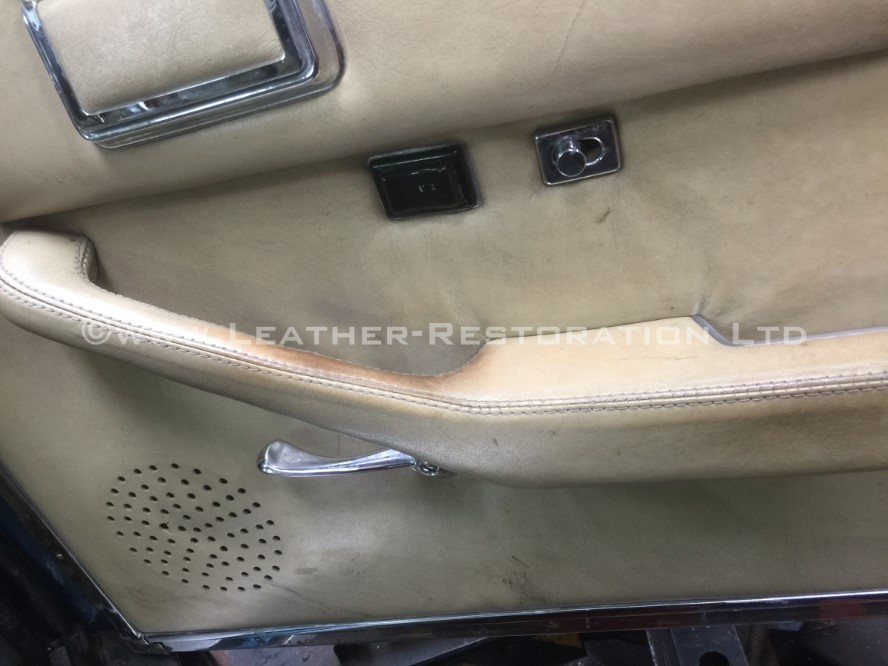
After the car leather restoration of the front seats, I repeated the process on the door cards, console skirts, back seat, handbrake and gear gaiters.
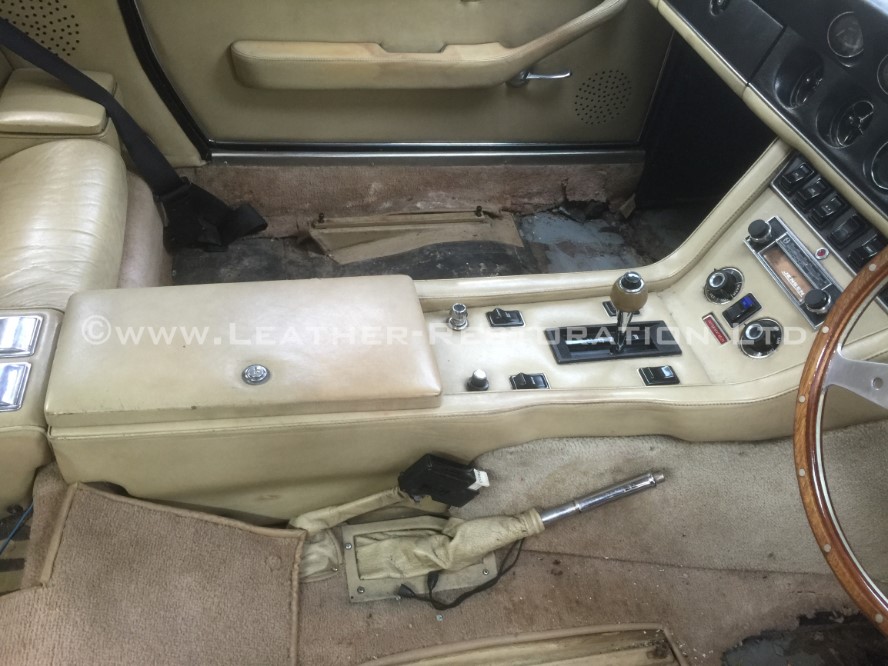
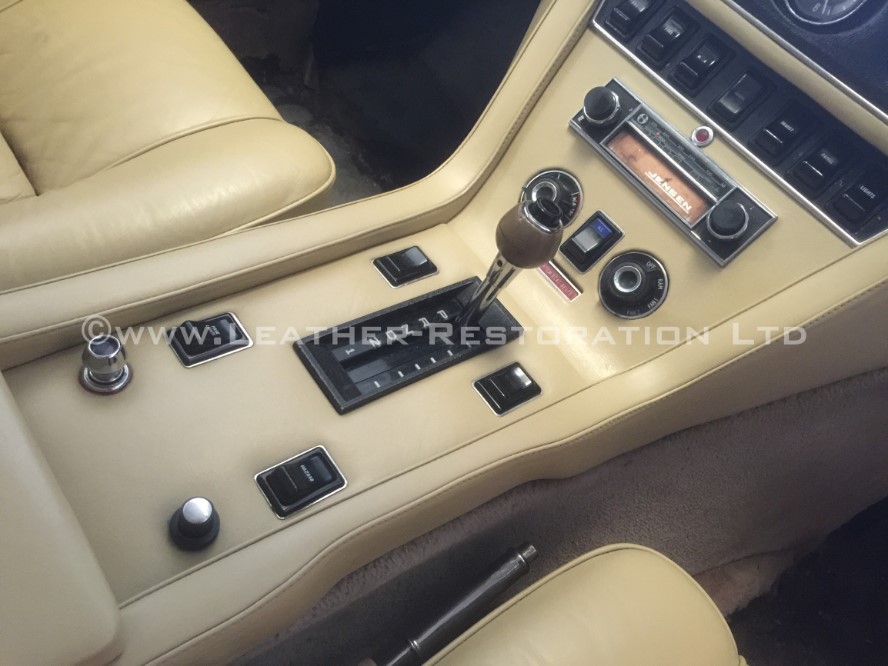
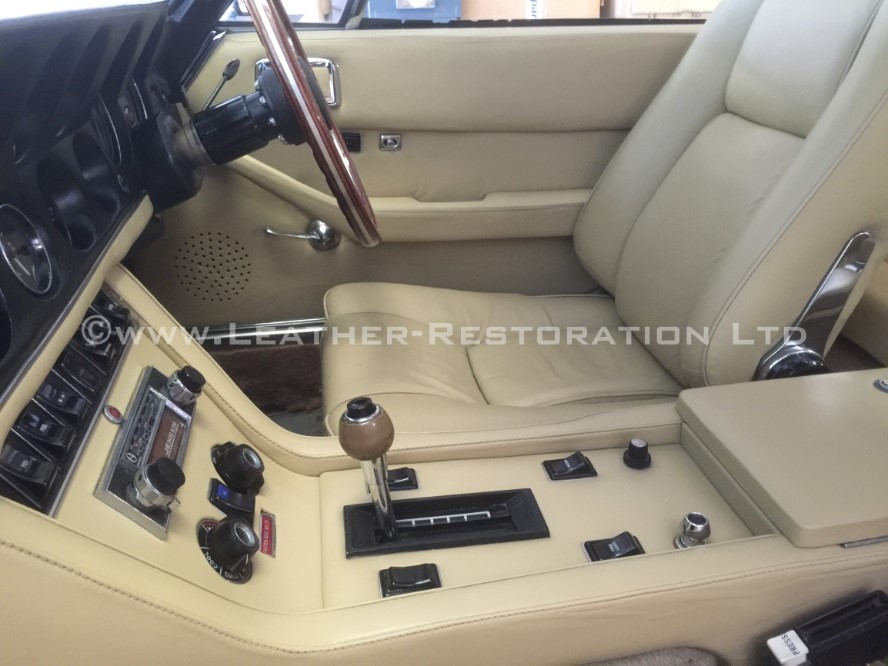
The console on this car was in a poor state and required precise and careful restoration and recolouring. This was completed in the vehicle as removing the console on a car of this age would be troublesome.
When all the leather had been recoloured and sealed, the interior was all put back into the car and protected with two layers of leather cream.
I hope you agree that the end result was simply stunning. I'm glad to say the customer was very happy too.
Testimonials
Thanks Colin, we are delighted with your work.
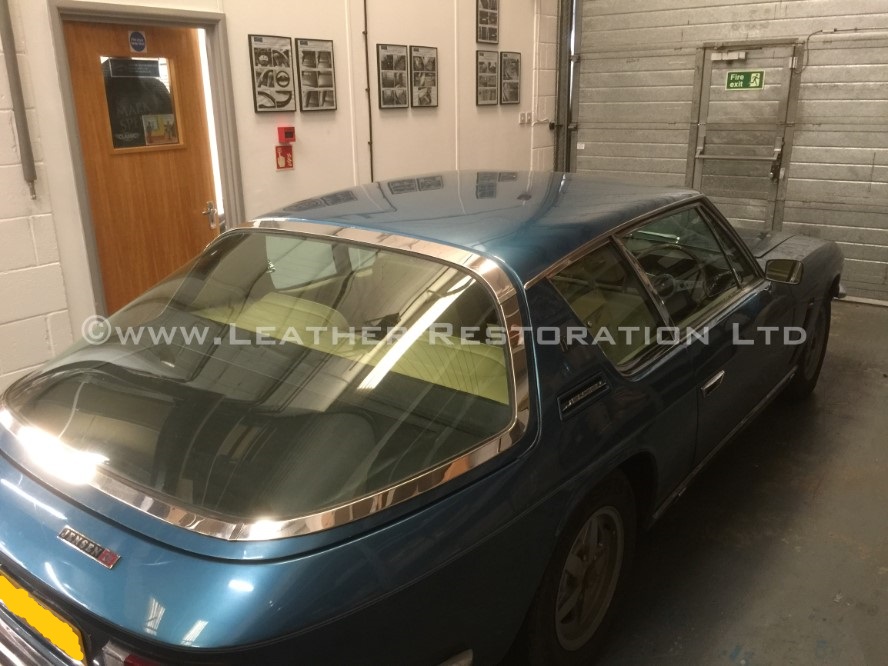
1973 Jensen Interceptor Mk3 - Before leather restoration
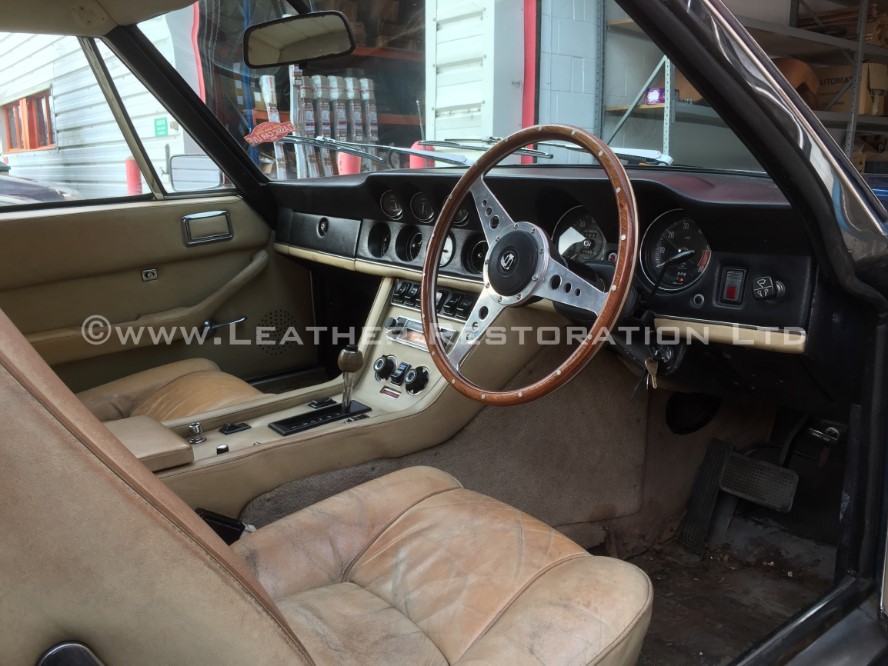
1973 Jensen Interceptor Mk3 - Before leather restoration
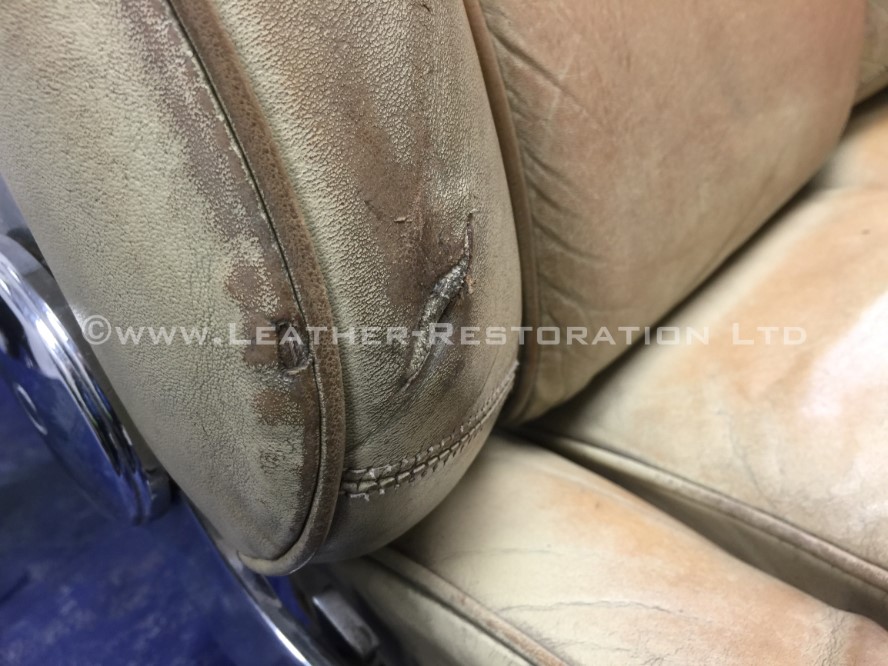
1973 Jensen Interceptor Mk3 - Before leather restoration
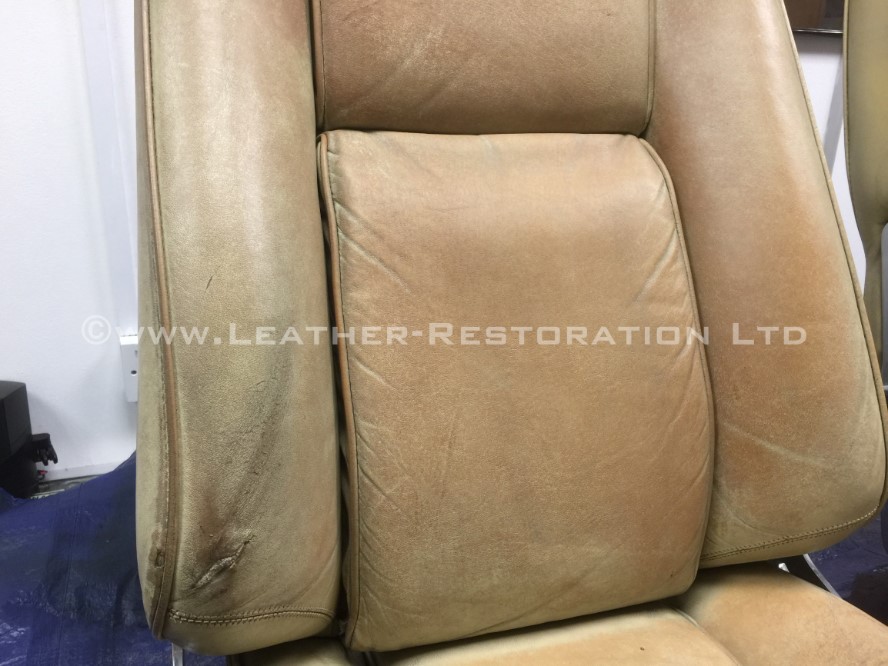
1973 Jensen Interceptor Mk3 - Before leather restoration
1973 Jensen Interceptor Mk3 - Before leather restoration
1973 Jensen Interceptor Mk3 - Before leather restoration
1973 Jensen Interceptor Mk3 - Before leather restoration
1973 Jensen Interceptor Mk3 - Before leather restoration
1973 Jensen Interceptor Mk3 - Before leather restoration
1973 Jensen Interceptor Mk3 - Before leather restoration
1973 Jensen Interceptor Mk3 - Before leather restoration
1973 Jensen Interceptor Mk3 - Before leather restoration
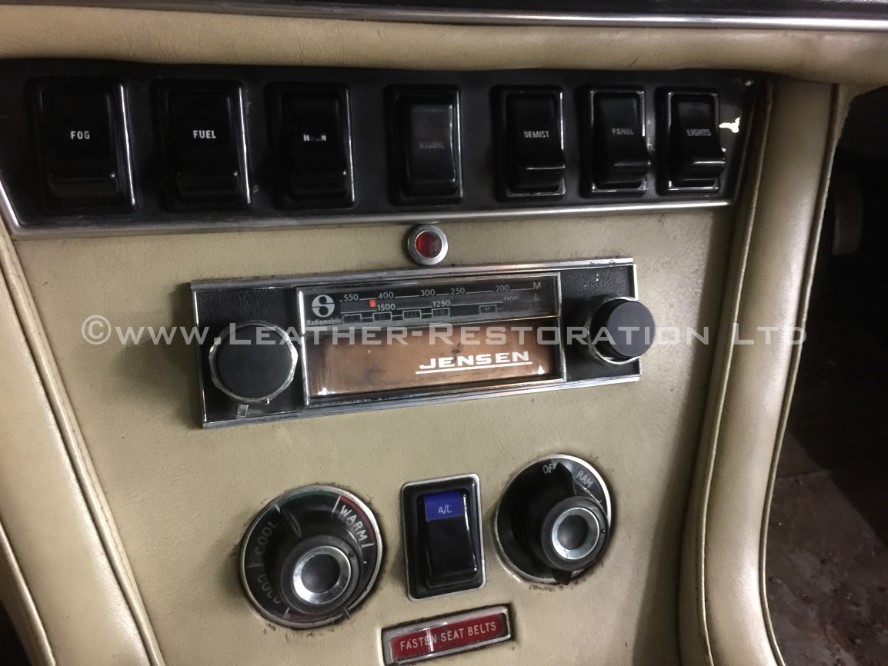
1973 Jensen Interceptor Mk3 - Before leather restoration
1973 Jensen Interceptor Mk3 - Before leather restoration
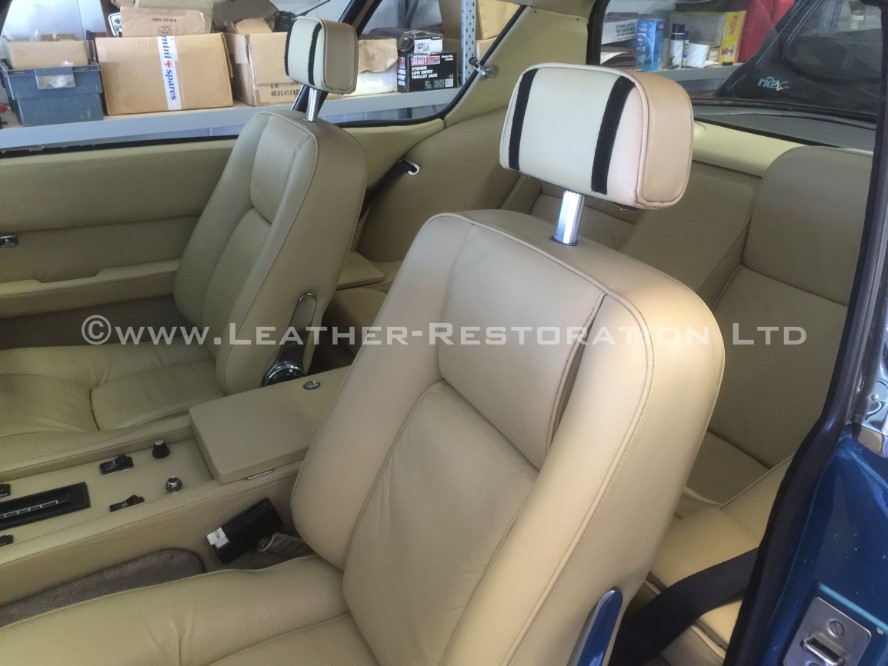
1973 Jensen Interceptor Mk3 - After full interior leather restoration
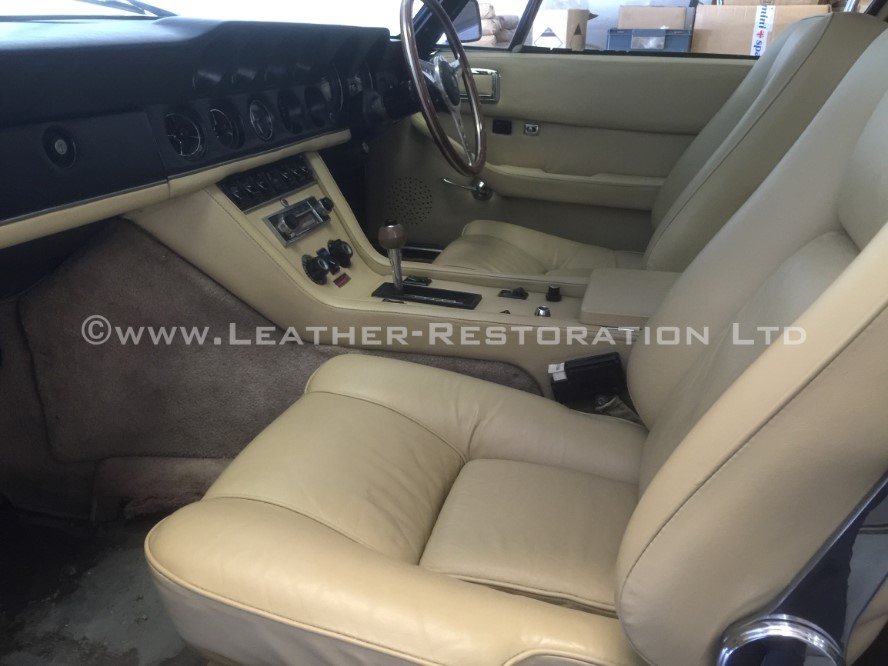
1973 Jensen Interceptor Mk3 - After full interior leather restoration
1973 Jensen Interceptor Mk3 - After full interior leather restoration
1973 Jensen Interceptor Mk3 - After full interior leather restoration
1973 Jensen Interceptor Mk3 - After full interior leather restoration
1973 Jensen Interceptor Mk3 - After full interior leather restoration

1973 Jensen Interceptor Mk3 - After full interior leather restoration
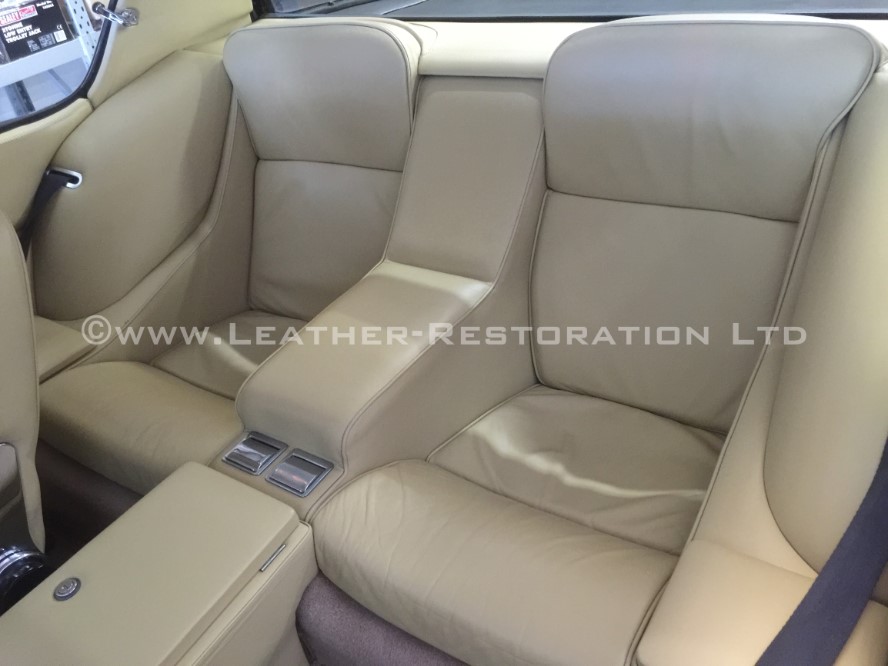
1973 Jensen Interceptor Mk3 - After full interior leather restoration
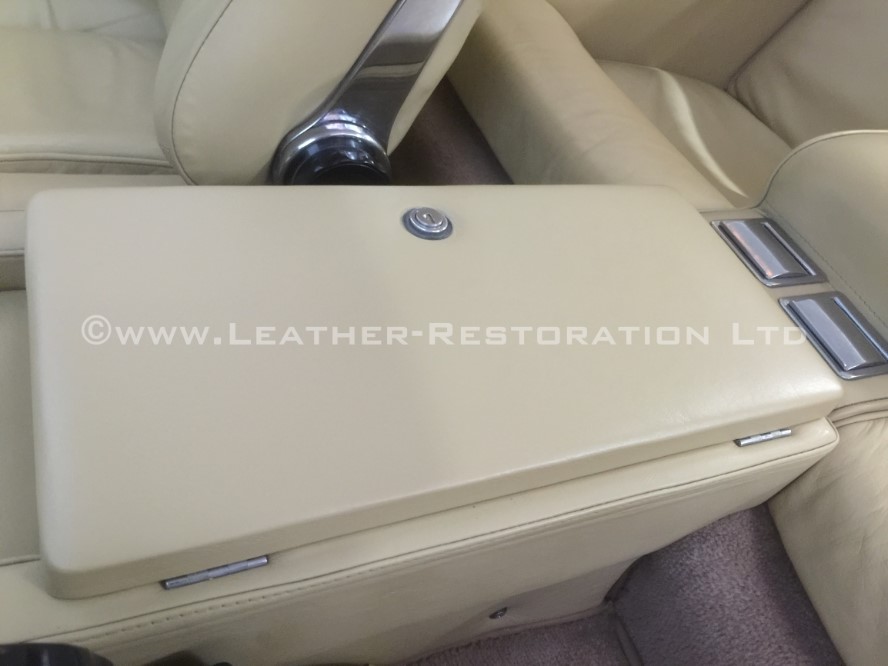
1973 Jensen Interceptor Mk3 - After full interior leather restoration
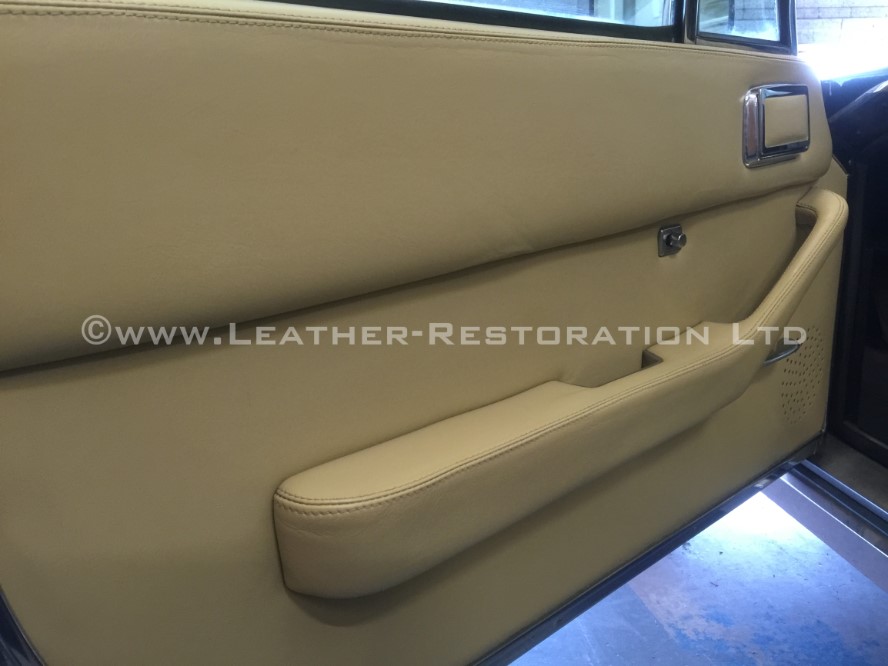
1973 Jensen Interceptor Mk3 - After full interior leather restoration
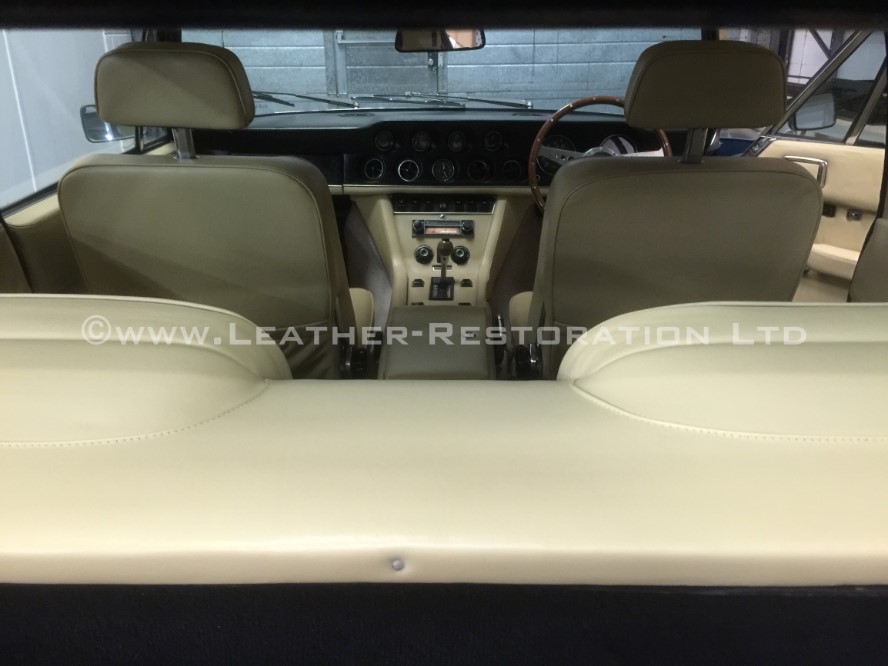
1973 Jensen Interceptor Mk3 - After full interior leather restoration


Follow :


Other Information
Copyright 2024 leather-restoration.co.uk All Rights Reserved
Website designed and built by Chertstone